How to Spool a Spinning Reel Without Line Twist

This post may contain affiliate links. Read our policy.

Piscifun Speed X Line Winder
The feature worth paying for here is the unwinding function, which winds line back onto the filler spool instead of onto the floor.
- Unwinding function recovers good line instead of wasting it
- Conical adaptor rotates with the spool, so the spool is not fighting a fixed post
- Piscifun states the aluminium alloy rod is 40% stronger than the plastic version
- Clamp opens to 4.13 in, so you need a table edge that thin
- Ties for the most expensive option here
How to Spool a Spinning Reel Without Line Twist
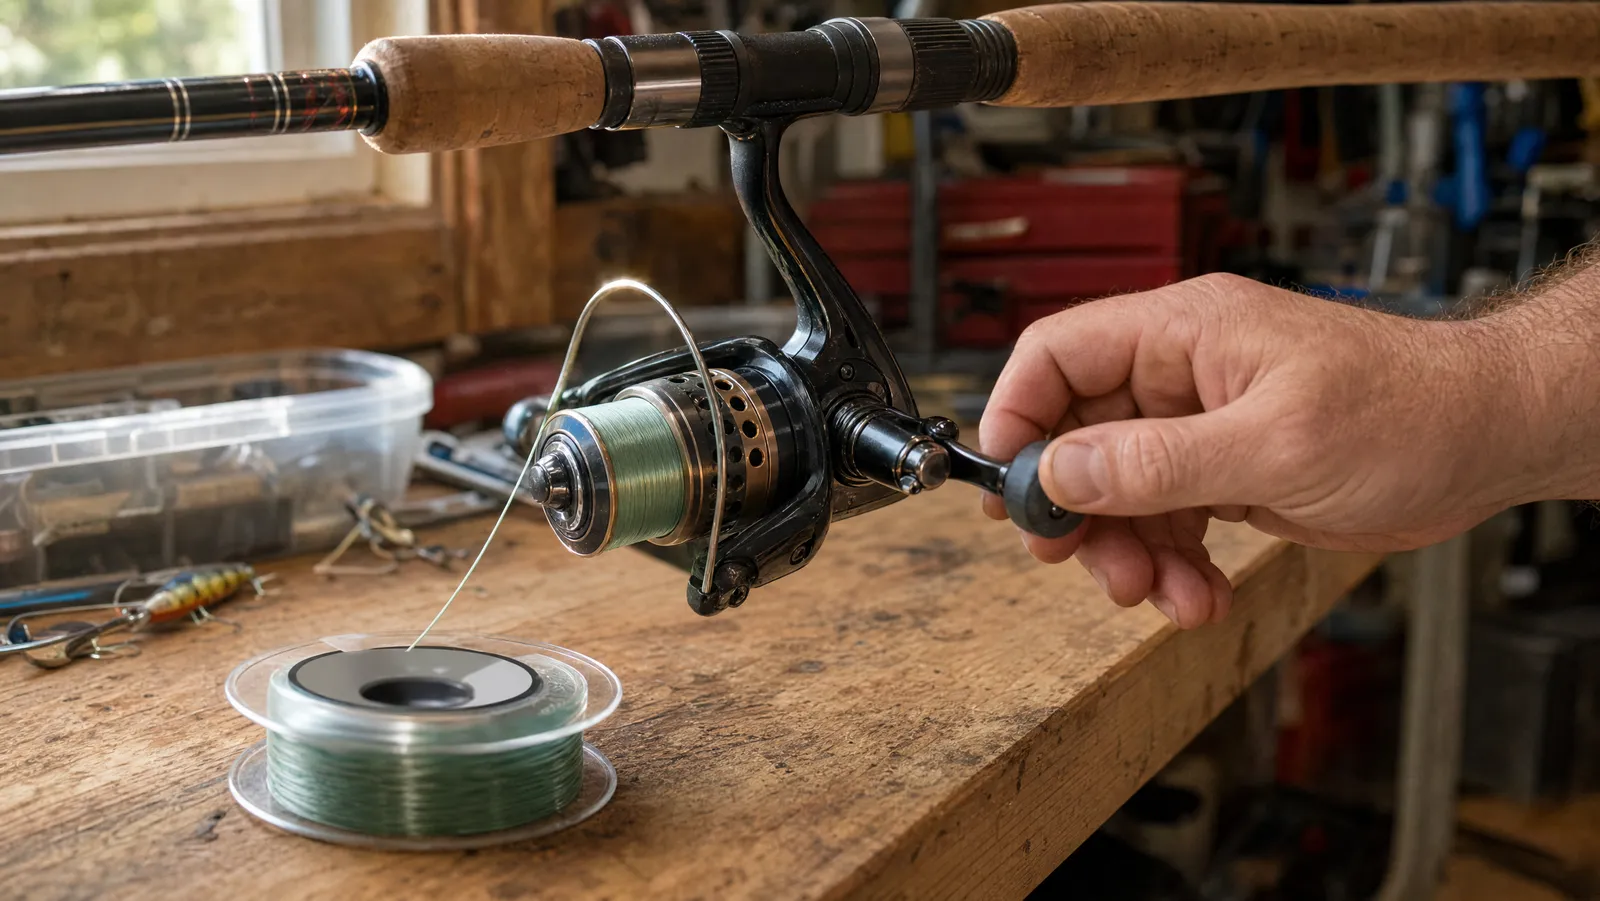
Line twist is decided in the first ten seconds of spooling, not out on the water. A spinning reel's bail wraps line onto a spool that never turns, so the line has to come OFF the filler spool in the same rotational direction it goes ON. Match those directions and a filler spool on the floor, a damp rag and five minutes beat any machine. Mismatch them and you have loaded the spool with twist before your first cast.
Angler Reviews is reader-supported. We may earn a commission on purchases made through links on this page, at no extra cost to you.
Here is the whole job, step by step, with the reason behind each step — because the reason is what stops the twist. If you have not settled which line belongs on the spool yet, settle that first. Mono, fluorocarbon and braid each behave differently on a fixed spool.
Why a Spinning Reel Twists Line At All
Understand this and every step below becomes obvious.
On a baitcaster the spool rotates and line rolls off the front. On a spinning reel the spool is fixed and the rotor swings the line around it. Master Fishing Mag puts the mechanism plainly: "the rotating bail wraps line around a stationary spool, imparting angular energy with every retrieve." On a reel with a 5.3 to 1 gear ratio, the same source notes, one turn of the handle means 5.3 twist-inducing rotations of the rotor.
Now consider the new line. It has sat in coils for months, and it leaves the filler spool in loops with a rotational direction of their own. If those loops spin the way the rotor is about to wind them, the two cancel and the line lies flat. If they spin against it, they add, and you are loading twist at speed with the handle in your hand.
Salt Strong reduces the fix to one sentence: "Lay the spool on the ground (label up) and that allows the line to come off of the line spool in the same manner that it goes onto your reel."
Everything else here is housekeeping. Direction is the article.
Step 1: Strip the Old Line, Then Spin the Line Roller
Cut the old line off and bin it. Do not build fresh line on a compressed bed of five-year-old mono — that is a spring under your spool.
While the spool is bare, flick the little roller on the bail arm with a fingernail. It must turn freely. Master Fishing Mag describes a working line roller as neutralising "most of that bail torque by allowing line to pass with minimal friction," and warns that when the roller is "seized up with salt, sand, or dried algae, twist locks into the line and accumulates rapidly." A roller packed with dried salt and grit is a twist generator you will otherwise blame on the line.
A seized roller twists brand-new line on the first trip. Check it while you can see it.
Step 2: Lay the Filler Spool Flat, Label Up
Put the new spool on the floor or the bench, flat, label facing the ceiling. No pencil through the middle, no helper holding it on an axle. A spool spinning on an axle feeds line off the side in a way that is very hard to read, which is why so many anglers believe twist cannot be beaten.
Flat and label-up is the starting position, not the answer. You are about to test it.
Thread the line through the big guide above the reel — the stripper guide on any spinning rod — before tying anything. One guide gives you a fixed reference point where twist becomes visible.
Step 3: Tie the Arbor Knot
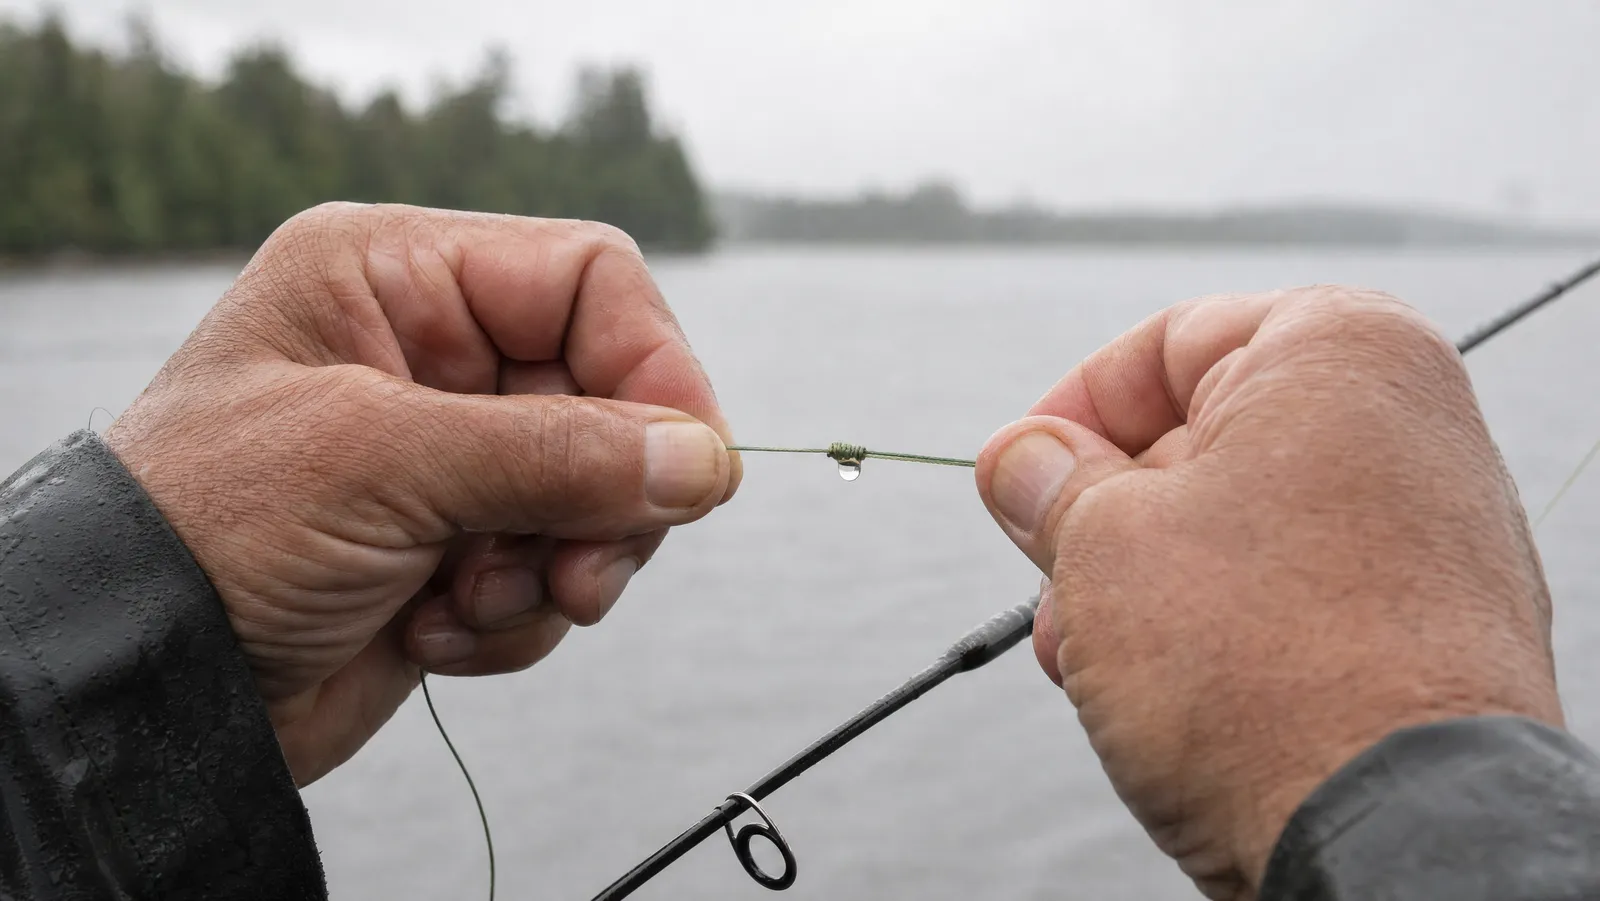
Open the bail. Pass the line around the arbor, tie an overhand knot around the standing line, then tie a second overhand knot in the tag end itself so it cannot pull back through. Pull the standing line and the first knot slides down and locks against the arbor, with the second acting as a stopper. Trim the tag close.
That second knot is the whole trick, and it is the part beginners skip: a lone overhand knot around an arbor cinches down to nothing and slips. Our guide to the knots that actually hold covers the arbor knot in detail alongside the connections you need at the business end.
Step 4: If You Are Spooling Braid, Give It Something to Grip
Nylon bites into an aluminium or graphite arbor. Braid does not. It free-spins around a slick bare spool, so you crank against a good fish and the entire spool of line rotates while nothing happens. Outdoor Life draws the line clearly: "If your reel has a non-slip, braid-ready spool, you can skip the backing and spool your braid right to your spinning reel. If it doesn't, you should use a monofilament backing to prevent the braid from slipping around on your spool."
Two accepted fixes, and they are not equal.
- A wrap of electrical tape over the arbor and the first few turns. Free, instant, fine on freshwater reels you refill often. It can trap moisture and salt against the spool, and anglers who fish salt water regularly report corrosion under old arbor tape, which is reason enough to think twice on saltwater gear.
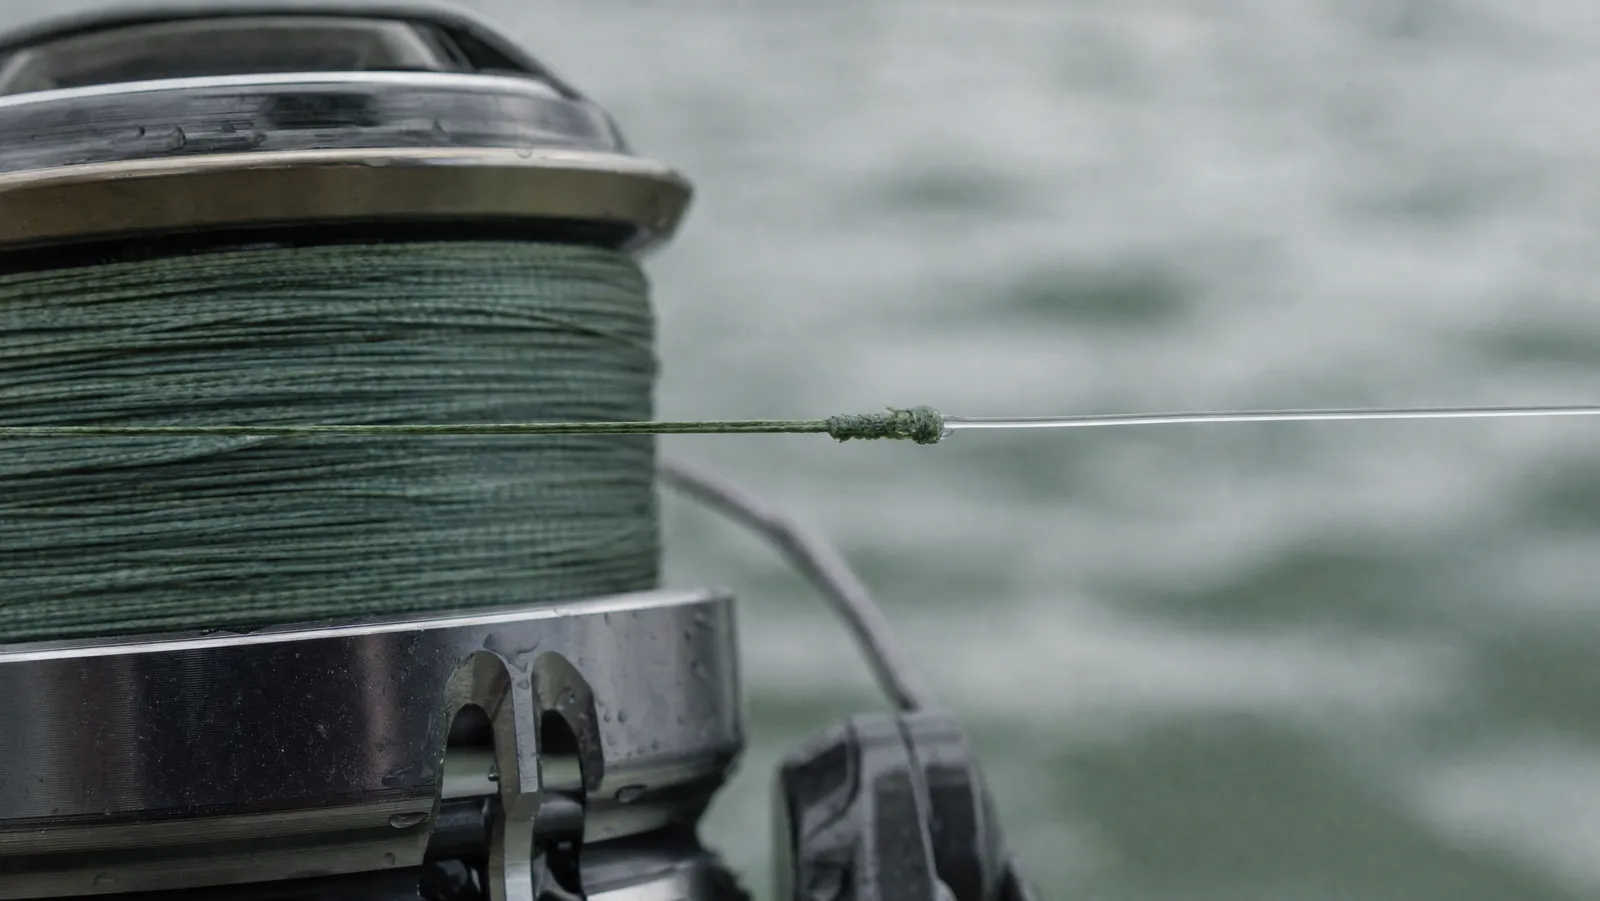
- Mono backing, the better answer and the cheaper one, because you stop paying braid prices for line that never leaves the reel. Salt Strong's method is to wind 100 to 150 yards of braid on first, fill the rest of the spool with mono, then reverse-spool the lot onto the fishing reel so the braid finishes on top and the backing ends up underneath where it belongs.
Our full braid guide goes deeper on why the slick, low-memory fibers that make braid cast so well are exactly the fibers that will not hold on a bare arbor.
Step 5: Crank Ten Turns, Then Look at the Line Between the Spools
This is the sixty seconds that decides the job.
Close the bail, pinch the line lightly, and turn the handle ten times. Stop. Look at the line running from the filler spool up to the first guide. It should hang straight, or in a lazy curve.
If it is corkscrewing, knotting into little pigtails, or climbing over itself, the spool is the wrong way round. Outdoor Life describes the same tell: if "pigtails" or "curlicues" appear at the entering guide, "it means that you are going in the wrong direction. Simply flip the spool of new line over and start reeling again." Salt Strong's fix is identical: "If you do see it twist, flip the line spool label down and start reeling until you see the line straightens out."
So flip it. Do not cut anything, do not retie. Turn the spool over, take up the slack, crank ten more turns and look again. One orientation will be clean.
Check again halfway through: a spool that has been knocked over lies differently, and looking costs five seconds.
If you do nothing else in this article, do the ten-turn test.
Step 6: Hold Firm, Constant Tension
Run the line through a folded damp rag between thumb and forefinger on its way to the reel. Damp, not wet — you want friction, not a bath.
Tension is not about pulling hard, it is about being constant. Line that goes on loose gets crushed by the line laid over it under load, and it buries. Loose braid buries worse than anything made.
Outdoor Life adds a warning worth repeating for anyone tempted by the machine behind the tackle shop counter: avoid high-speed electric spoolers, which can generate friction and pack line on too tightly.
Step 7: Fill to One Eighth of an Inch Below the Lip
Both errors here cost casting distance, in different ways.
Tackle Village's target is "a gap of about 1/8th of an inch" between the packed line and the spool lip. Outdoor Life gives the same figure. Quoted in Sport Fishing Magazine, Capt. Jot Owens of Wrightsville Beach, North Carolina, narrows it for braid: "Do not overfill the spool on a spinning reel, since that can easily cause wind knots. I like to go about three quarters full, leaving 1/8- to 1/16-inch space to the outside edge."
Underfill and, in Tackle Village's words, "you lose energy in the cast. That means you can't cast as far and you need to use more force with your arm, reducing casting accuracy." Every coil has to climb a taller lip to leave the spool.
Overfill and the loops spill off in bunches. Tackle Village describes a reel where "it is difficult to control the line and it often becomes tangled," with line "flying off the reel spool at inopportune times." Master Fishing Mag calls it fluffing, where several coils jump off together.
Do not guess how much line to buy, either. Tackle Village's worked example for a size 2500 reel is 170 yards of 6-pound mono or 110 yards of 10-pound. Run your own reel through our line capacity calculator before you open the packet.
Step 8: Close the Bail by Hand From Now On
You are spooled. The habit that protects the work starts on the first cast.
Most spinning reels flip the bail closed when you turn the handle, and that mechanism is a twist machine. Sport Fishing Magazine's guidance is to close the bail by hand, specifically not by turning the handle, before you reel. Outdoor Life agrees: "While most spinning reels enable you to close the bail by turning the reel handle, get into the practice of closing it manually after each cast." The rotor has to travel before it trips the bail, and every degree of that travel throws untensioned line into a loop.
Then make your first cast and retrieve it under load, rod bent, so the first layer settles tight rather than loose.
Do You Need a Line Spooler? Honestly, No
Let us be straight, because every article on this subject tries to sell you a gadget: a filler spool on the floor, a damp rag and five minutes will spool a spinning reel perfectly. The tools below make the job faster and less annoying. They do not make it more accurate, and not one of them will save you from getting the spool direction wrong.
Buy one if you refill several reels a season, or if you are tired of chasing a spool across the garage floor.
- The ANGRYFISH spooler with tension control, about $15 as of September 2026, is where most people should start. Tension control is built in, the anti-slip mat lets the clamp grip a truck bed or a gunwale rather than only a bench, and it packs into a cloth bag. Its ceiling is a 3.35-inch maximum spool width, which rules out the widest bulk spools.
- The Shaddock rod-mounted winder, about $20 as of September 2026, clamps to the rod blank, so line runs through the guides on the way to the reel exactly as it will when you fish. It takes spools up to 5.71 inches wide and blanks from 0.2 to 1.1 inches. If you have no bench and no table edge, this is the one.
- The Berkley Portable Line Spooling Station, about $30 as of September 2026, is a tabletop unit rather than a clamp. The reel secures to the base and the collapsible spool arm stores inside it. Pick it if your bench has no edge thin enough to clamp.
- The Piscifun Speed X Line Winder, about $30 as of September 2026, earns the top slot on one feature: it unwinds as well as winds, putting line back onto the filler spool instead of onto the floor. Its conical adaptor fits spool apertures from 10mm to 25mm and rotates with the spool, and Piscifun states the aluminium alloy rod is 40 percent stronger than the plastic version. The clamp opens to 4.13 inches, so measure your bench first.
None of these fixes twist. They fix having only two hands.
Troubleshooting: Wind Knots, Memory Coils and Line Digging In
Wind knots. The tangle that appears out of nowhere mid-cast is a spinning-reel disease, not a line defect. Ben Miller of Sufix, quoted in Sport Fishing Magazine, frames it exactly right: "Wind knots are truly a byproduct of spinning tackle. A wind knot to a spinning reel is the same as a backlash to a baitcasting reel." He attributes braid's particular vulnerability to its lack of memory on the spinning spool, which leaves slack coils sitting loose enough to lift off together. Capt. John Stacey of Cortland Line, in the same piece, adds the other mechanism: "Wind knots may occur after a sudden acceleration at the beginning of the cast, when the braid collides into the rod guides and causes a loop that continues to accelerate." The fixes are cumulative and all free — fill to the lower end of the range, close the bail by hand, and smooth out the start of your casting stroke.
Memory coils. Line that comes off in springs is mono or fluorocarbon that has taken a set, and it is worst on a reel that spent winter in a hot truck. Casting a weight and retrieving it under tension pulls most of it out. A season-old spool with permanent memory is telling you to replace the line. If memory is a recurring problem, the line itself is the lever — our guide to the right line for spinning gear covers which materials behave on a fixed spool.
Line digging in under load. When a hard-fighting fish pulls line down into the layers beneath it, the next cast stops dead halfway out. Usually the cause is line that went on loose, which is step 6. The other cause is reeling against a slipping drag, and the price is measurable: Master Fishing Mag puts it at 4 to 6 full twists added to the line for every handle turn taken while the drag is giving line. When the drag slips, stop cranking and pump the rod. Set the drag deliberately before you get there, with our drag setting calculator.
Crooked lures. Master Fishing Mag also notes that a badly rigged soft plastic spins like a propeller on the retrieve, generating twist on every cast. If line twists despite a clean spooling job, look at what is tied to the end of it.
The Short Version
Strip the old line and check the roller spins. Lay the new spool flat, label up. Tie an arbor knot with a stopper knot in the tag. Tape or back a bare arbor if you are spooling braid. Crank ten turns and look at the line between the spools — if it corkscrews, flip the spool and carry on. Keep firm, even tension through a damp rag. Stop one eighth of an inch short of the lip. Then close the bail by hand for the rest of that reel's life.
Ten minutes, no machine required, and the ten-turn test is the only part that is not optional.
When you are ready to work out what belongs on the spool in the first place, the Angler Reviews fishing line guide compares braid, fluorocarbon and mono head to head.
The Picks, Tested
Piscifun Speed X Line Winder
The feature worth paying for here is the unwinding function, which winds line back onto the filler spool instead of onto the floor. Piscifun's conical adaptor rotates with the spool rather than letting the spool grind against a fixed post, which is the difference between a winder and a stick.
- Unwinding function recovers good line instead of wasting it
- Conical adaptor rotates with the spool, so the spool is not fighting a fixed post
- Piscifun states the aluminium alloy rod is 40% stronger than the plastic version
- Clamp opens to 4.13 in, so you need a table edge that thin
- Ties for the most expensive option here

Berkley Portable Line Spooling Station
A tabletop station rather than a clamp, which is the right shape if your workbench has no overhang to grip. The reel secures to the base, so both of your hands are free for tension and for watching the line between the spools.
- Needs no table edge to clamp to, only a flat surface
- Reel secures to the base, freeing both hands
- Collapsible spool arm stores inside the base
- Wants a flat surface, so it is a garage tool rather than a tailgate tool
- You are spooling off the reel seat rather than off the rod
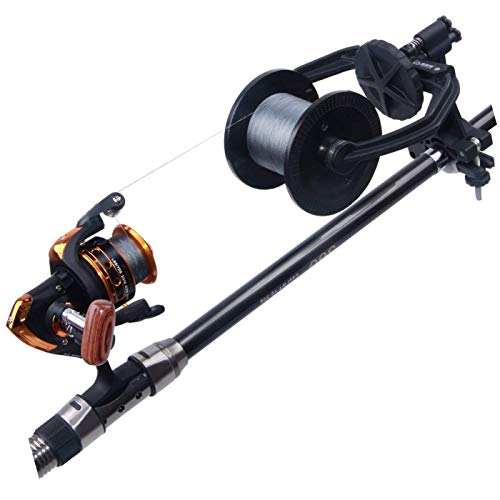
Shaddock Fishing Portable Line Winder
This one clamps to the rod blank itself, which means the line runs through the guides on its way to the reel exactly as it will when you fish. Handles filler spools up to 5.
- Mounts on the rod blank, so no bench or table edge is needed
- Takes filler spools up to 5.71 in wide, which covers bulk spools
- Cheaper than the bench-mounted options
- Rod blank must fall between 0.2 and 1.1 in in diameter
- Clamping hardware onto a blank is not for everyone's favourite rod

ANGRYFISH Line Spooler with Tension Control
The cheapest way to stop doing this with your fingers. Tension control is the whole pitch, and tension is the second most common thing people get wrong after spool direction.
- Tension control built in, at half the price of the clamp-on competition
- Anti-slip mat lets it grip a boat or truck edge, not just a bench
- Packs into a cloth bag and lives in the truck
- Maximum spool width of 3.35 in rules out the widest bulk spools
- Still needs an edge to clamp to
Compare The Field
| Compare | Best Overall Spooler Piscifun Speed X Line Winder | Best Tabletop Station Berkley Portable Line Spooling Station | Best Rod-Mounted Spooler Shaddock Fishing Portable Line Winder |
|---|---|---|---|
| Overall | — | — | — |
| Price | $29.99 Check price → | $29.99 Check price → | $19.99 Check price → |
About The Author
Rob Thomas
Rob Thomas is a fisherman who loves catching tales from his fellow fishermen. He always enjoys a good story, especially when it comes from the sea.